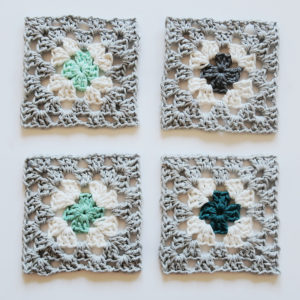
How to Make a Granny Square
Round 1
Step 1: ch4 and slst into the first chain made to make a circle.
Step2: ch3 (chain counts as first double crochet),2dc, ch2, 3dc, ch2, 3dc, ch2, 3dc, ch2, join with a slst into the top of chain 3.
Round 2
When making a granny square, you work the stitches into the space between the double crochet clusters. Not into the top of the stitches.
Step 1: ch3, work 2dc into the same space, ch1, 3dc in the next space ch1
Step 2: The Corner- crochet 3dc, ch2, 3dc all in the same space.
The corners are the increase in each round of the square.
Step 3: Continue working 3dc in each scape with a ch1 and (3dc, ch2, 3dc) in each corner. When you get back to the corner you started in – 3dc in the same space, ch2, join with an slst in the top of the chain 3.
Repeat steps 1 through 3 for each additional round.
You can make as many rounds as you want and make one huge blanket, or you can make several small squares (4 or 5 rounds) and connect them with seams.