Free crochet cat bed pattern

Cat Bed Crochet Pattern

Cat Bed Crochet Pattern

First, I have this cat… Sam. She was a feral pregnant stray that chose us to take care of her. Now, three years later, she is the most spoiled kitty, and she needed a bed of her own. “Right, Meow!” That is why I designed this cat bed crochet pattern.

crochet cat bed pattern free

*This post contains affiliate links, which means I receive a small commission, at no extra cost to you, if you make a purchase using this link.

Free Cat Bed Crochet Pattern
  • Materials:
  • Gauge:
    • 5 rows X  11 stitches + 4″ x 4″
  • Stitches:
    • ch – Chain
    • slst – Slip Stitch
    • sc – Single Crochet
    • dc – Double Crochet
    • st/sts – Stitch/Stitches

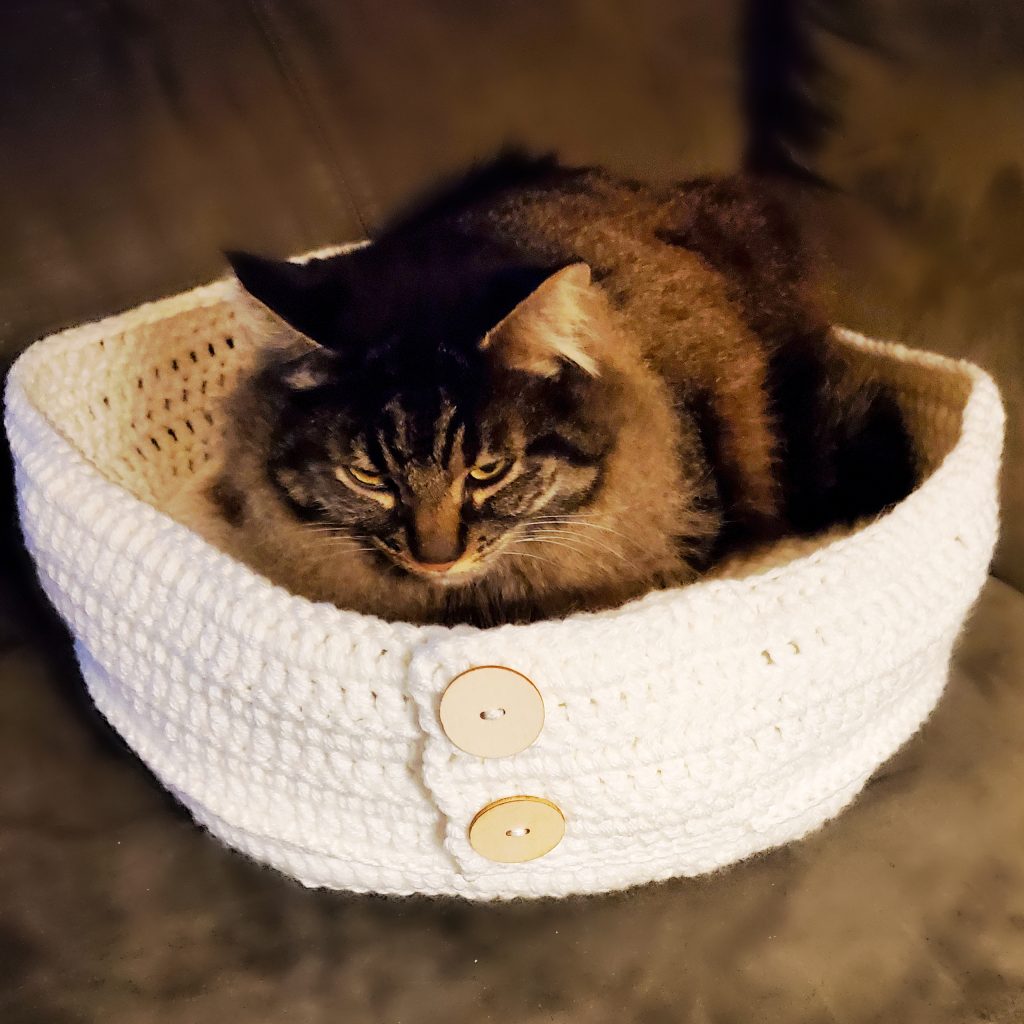
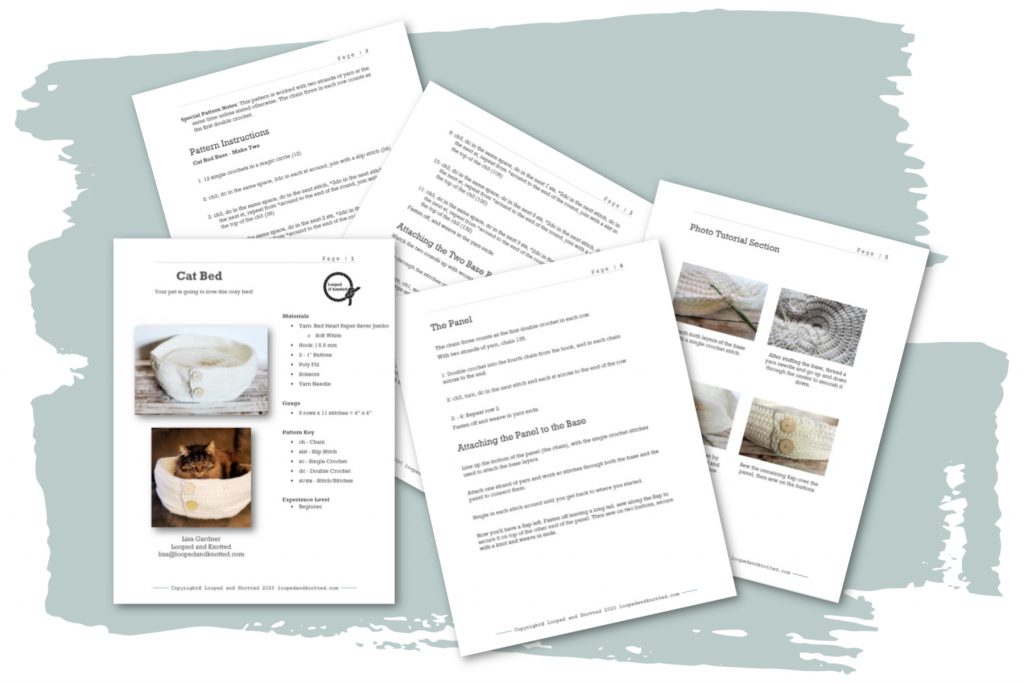
Cat Bed Pattern Instruction

Notes: This pattern is worked with two strands of yarn at the same time unless stated otherwise. 

The chain three in each row counts as the first double crochet.
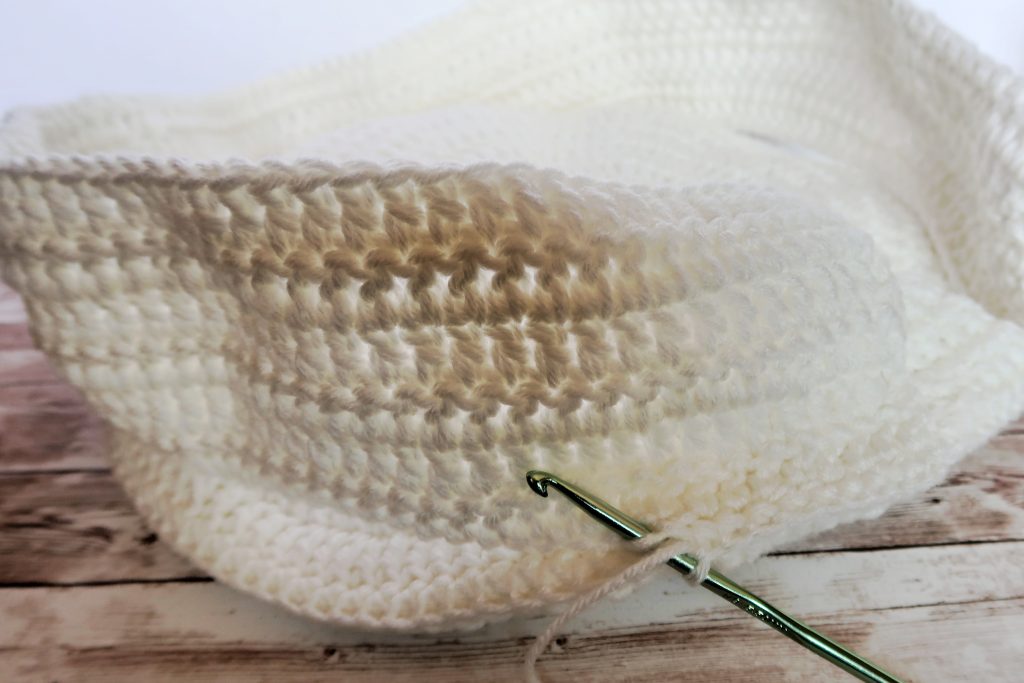
Cat Bed Base

Make Two

1: 12 single crochets in a magic circle (12)

2: ch3, dc in the same space, 2dc in each st around, join with a slip stitch (24)

3: ch3, dc in the same space, dc in the next stitch, *2dc in the next stitch, dc in the next st, repeat from *around to the end of the round, join with a slst in the top of the ch3 (36)

4: ch3, dc in the same space, dc in the next 2 sts, *2dc in the next stitch, dc in the next st, repeat from *around to the end of the round, join with a slst in the top of the ch3 (48)

5: ch3, dc in the same space, dc in the next 3 sts, *2dc in the next stitch, dc in the next st, repeat from *around to the end of the round, join with a slst in the top of the ch3 (60)

6: ch3, dc in the same space, dc in the next 4 sts, *2dc in the next stitch, dc in the next st, repeat from *around to the end of the round, join with a slst in the top of the ch3 (72)

7: ch3, dc in the same space, dc in the next 5 sts, *2dc in the next stitch, dc in the next st, repeat from *around to the end of the round, join with a slst in the top of the ch3 (84)

8: ch3, dc in the same space, dc in the next 6 sts, *2dc in the next stitch, dc in the next st, repeat from *around to the end of the round, join with a slst in the top of the ch3 (96)

9: ch3, dc in the same space, dc in the next 7 sts, *2dc in the next stitch, dc in the next st, repeat from *around to the end of the round, join with a slst in the top of the ch3 (108)

10: ch3, dc in the same space, dc in the next 8 sts, *2dc in the next stitch, dc in the next st, repeat from *around to the end of the round, join with a slst in the top of the ch3 (120)

11: ch3, dc in the same space, dc in the next 9 sts, *2dc in the next stitch, dc in the next st, repeat from *around to the end of the round, join with a slst in the top of the ch3 (132)

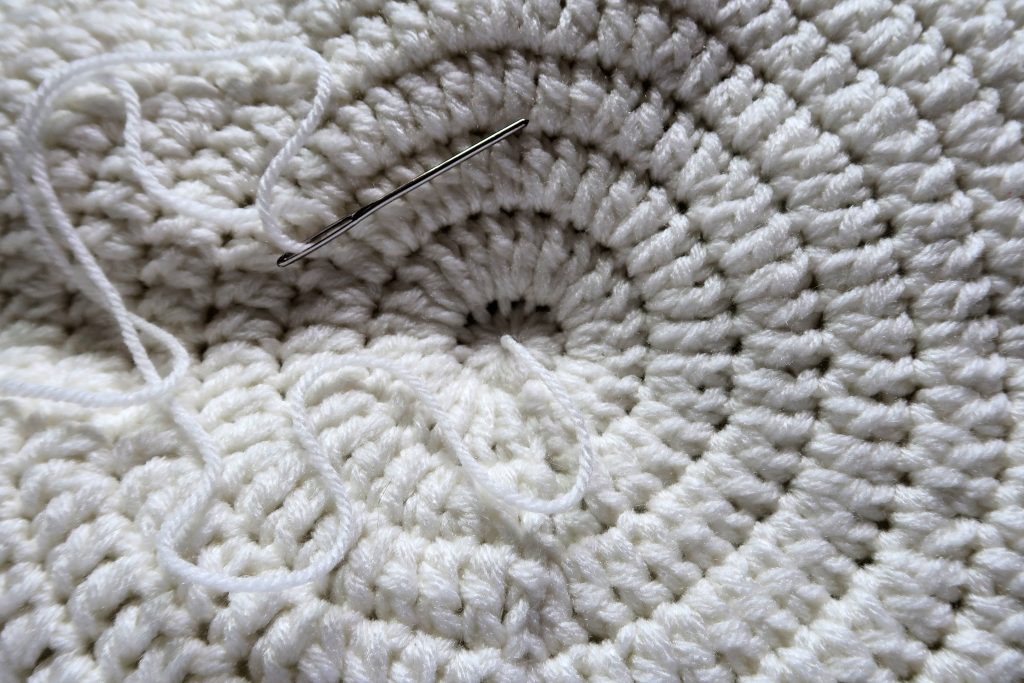
Fasten off, and weave in the yarn ends.

Attaching the Two Base Rounds

Match the two rounds up with the wrong sides facing each other. 
 
Work through the stitches on both layers of the base. 
 

Attach one strand of yarn, ch1, work a sc in the same space, through both layers. Repeat around, leaving an opening large enough to fit your hand in it. 


Stuff loosely, making sure to spread the polyfill out evenly. You can stuff the base as much or as little as you like.


Continue to sc in each st to close the opening, join with a slst. Then fasten off and weave in the yarn ends.


Cut one strand of yarn about 12 inches long, thread a yarn needle and make a knot at the end. Insert the needle into the center on the bottom of the base and up through the top. Then, go back down through the top and out the bottom of the base. Give a tug to squish the bed down a bit. Fasten off with a knot and weave in the yarn end.

The Panel

The chain three counts as the first double crochet in each row.

With two strands of yarn, chain 139.

1: Double crochet into the fourth chain from the hook, and in each chain across to the end

2: ch3, turn, dc in the next stitch and each st across to the end of the row

3: – 6: Repeat row 2

Fasten off and weave in yarn ends.

Attaching the Panel to the Base

Line up the bottom of the panel (the chain), with the single crochet stitches used to attach the base layers. 

Attach one strand of yarn and work sc stitches through both the base and the panel to connect them. 

Single in each stitch around until you get back to where you started.

Now you’ll have a flap left. Fasten off, leaving a long tail. Sew along the flap to secure it on top of the other end of the panel. Then sew on two buttons, secure with a knot, and weave in ends.

Sam approved! She loves her bed, and I know your kitty will too. Be sure to tag me on Instagram so I can see your fur babies enjoying their beds.

crochet cat bed pattern
free crochet cat bed pattern
cat bed pattern crochet

Thank for visiting my blog, to support me even further you can get an easy to  print pdf of this pattern in my Etsy shop.

&

2 thoughts on “Cat Bed Crochet Pattern”

  1. Hello…
    Thank you for posting your pattern for this cat bed. I’m not yet finished. Working on the sides. I wanted to let you know however that there is, or seems to be, a step missing in your rounds for the bottom of the bed. There are no instructions for increasing each round. I have been crocheting for many years so I was able to figure it out. I’m really hoping that my kitty likes the bed. She can be a bit of a snob. Happy crocheting.

  2. Pingback: 15 Free Crochet Cat Bed Patterns - Crochet Scout

Leave a Comment

Your email address will not be published. Required fields are marked *

Pinterest
fb-share-icon