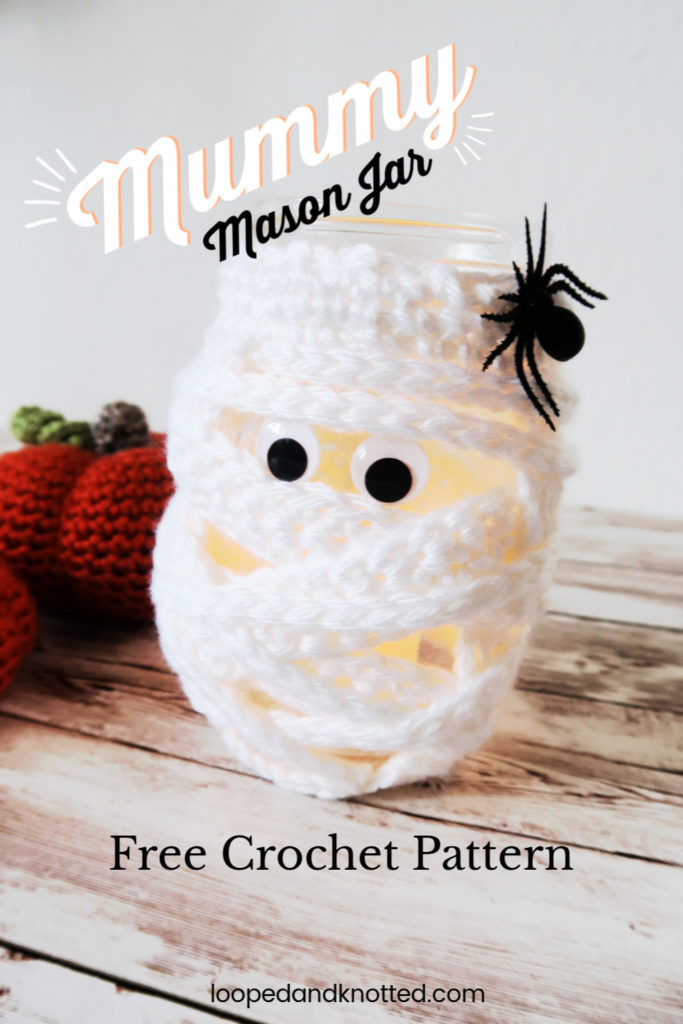
Crochet Mummy Mason Jar
I finished this cute mummy mason jar just in time for Halloween! I had made something similar a few years ago using burlap, and I wanted to create a crocheted version.
Here it is… This little jar is a quick Halloween project that you can complete in one evening.
*This post contains affiliate links, which means I receive a small commission, at no extra cost to you, if you make a purchase using this link.
Materials:
- Yarn: Worsted Weight (4)
- Caron Simply Soft
- White
- Caron Simply Soft
- Hook: H 5mm
- 16oz Smooth Sides Ball Jar
- 15mm Googly Eyes
- Scissors
- Yarn Needle
- Plastic Spider (optional)
Pattern Key:
Click the link for a video tutorial, if you need help with these stitches.
- ch: Chain
- sc: Single Crochet
- slst: Slip Stitch
- st/sts: Stitch/Stitches
Crochet Mummy Mason Jar
Pattern Instructions
Frame
1: 6sc in the 2nd ch from hook, join with a slst in the first sc made (6)
2: ch1, 2sc in each st around, join with a slst (12)
3: ch1, *sc in the first st, 2sc in the next, repeat from * around, join with a slst (18)
4: ch1, *sc in the next 2 sts, 2sc in the next st, repeat from * around, join with an slst (24)
5: ch1, *sc in the next 3 sts, 2sc in the next st, repeat from * around, join with an stst (30)
First Column
6: ch1, sc in the next 3 sts
7-16: ch1, turn, sc in each st
Fasten off
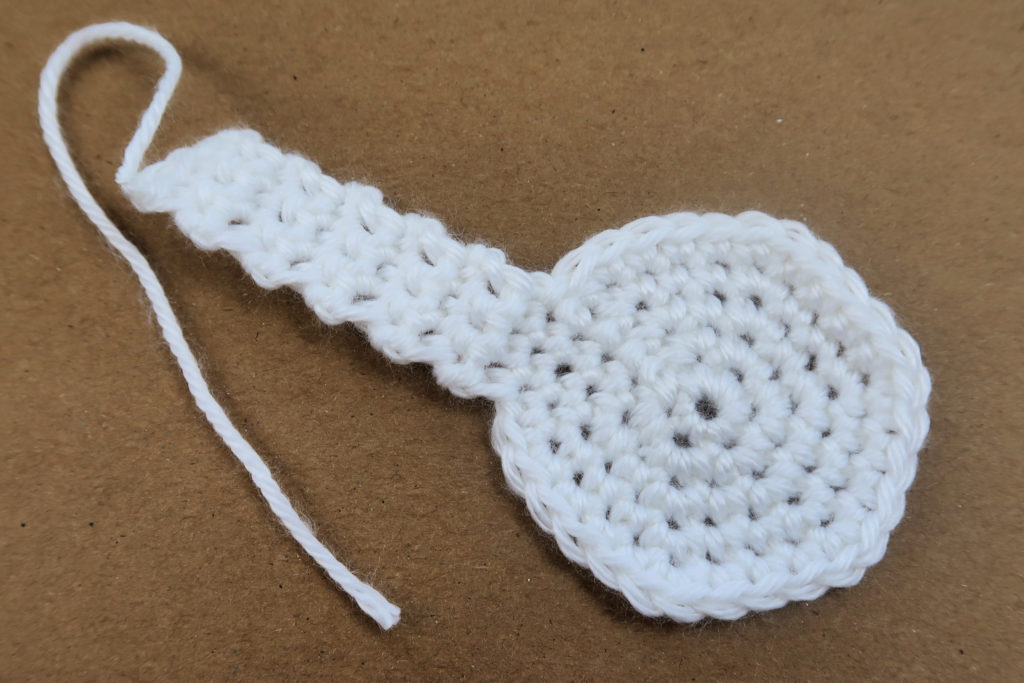
Columns on Mummy Frame
Second Column
2-11: ch1, turn, sc in each st
Fasten off
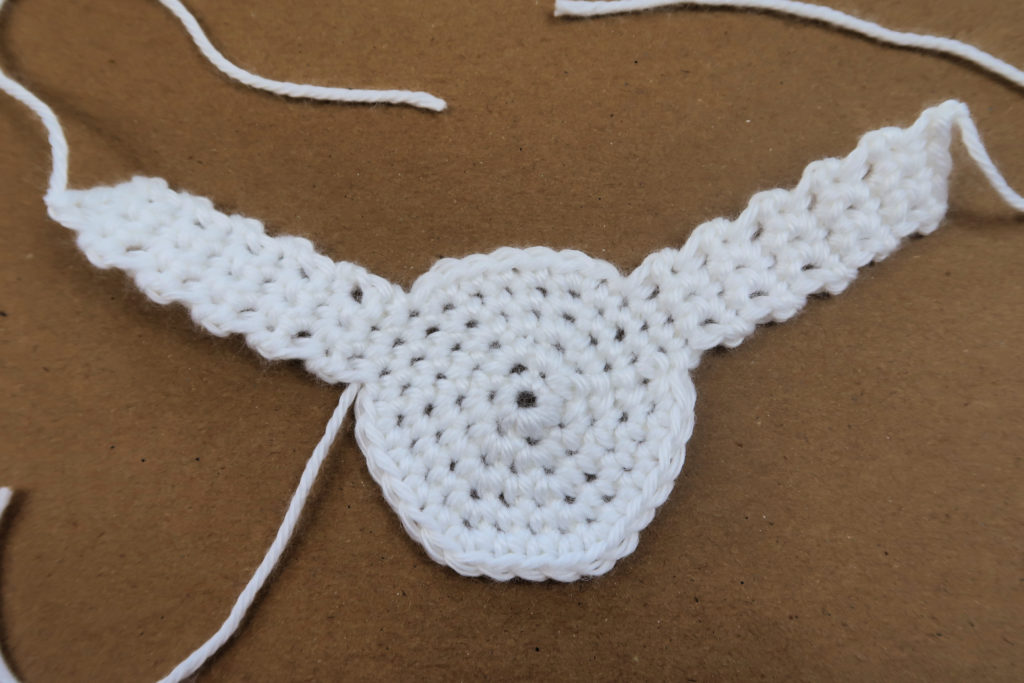
Third Column
1: Skip 7 sts, attach yarn, ch1, sc the same st and in the next 2 sts
2-11: ch1, turn, sc in each st
Do Not Fasten Off
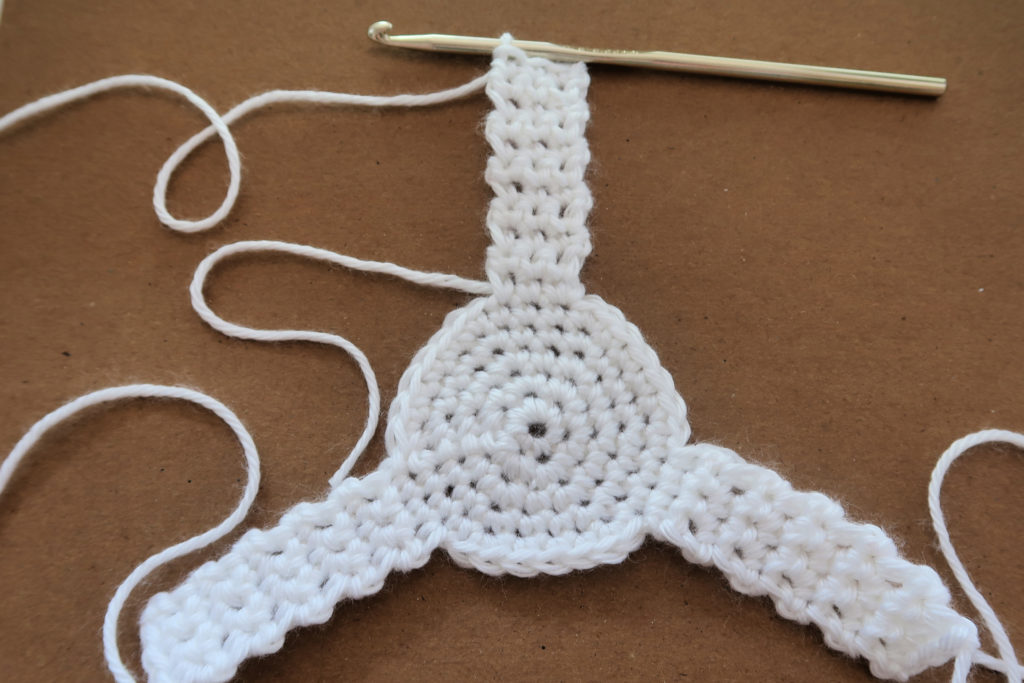
Top of Frame
2-3: ch1, sc in each st around, join with an slst
Fasten Off, leaving a long tail.
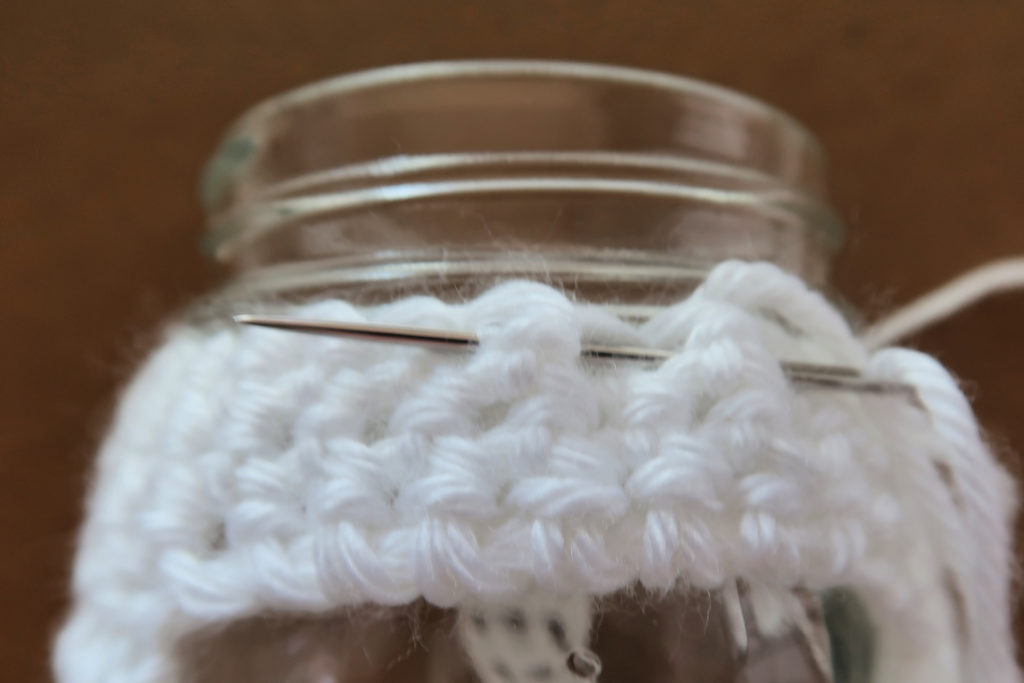
Weave in all ends of the frame except for the long tail. Slide frame onto the mason jar. Weave the long tail through each sc, pull on the tail to secure the frame around the top of the jar. Secure with a knot and weave in the tail.
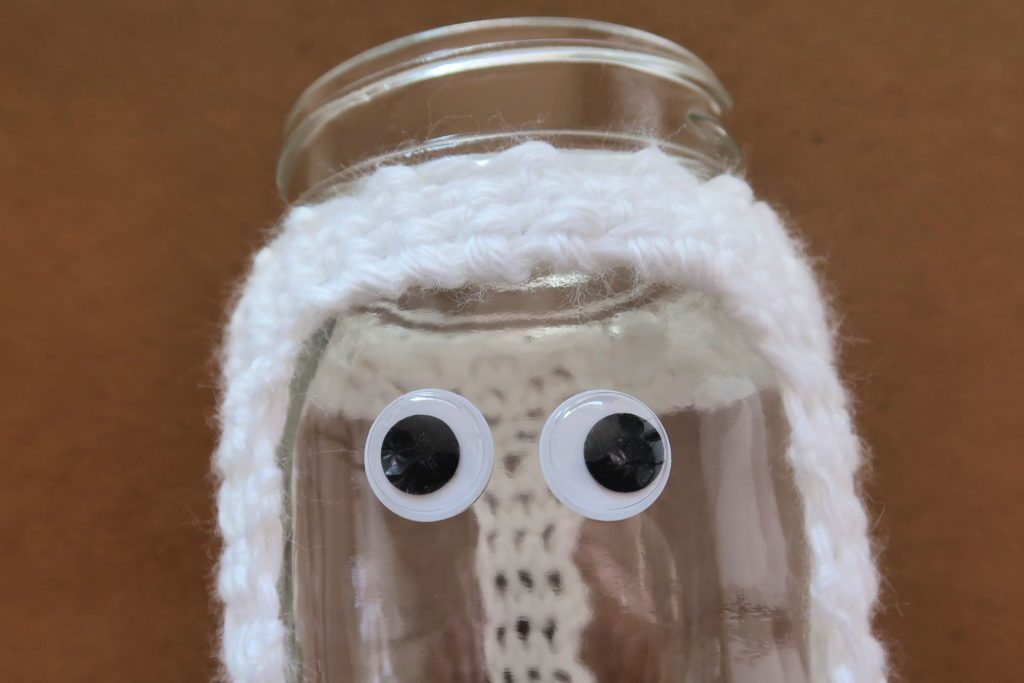
Add the googly eyes to the jar.
Mummy Bandages
Bandage Make 2
2-3: ch1, turn, sc in each st across to end
Fast Off
Thin Bandage Make 2
1: ch101, slst in 2nd ch from hook and each st across to end
Fast Off
Attaching the Bandages to the Mummy
Starting with the thicker bandages, whip-stitch the end of the bandage to any part of the frame (column, top or bottom), wrap the bandage around the jar, weaving under or over the columns. Making sure to not cover the mummy’s eyes. Sew the other end to another part of the frame. Then, weave in the ends.
Continue wrapping the mummy in all the bandages in the same fashion.
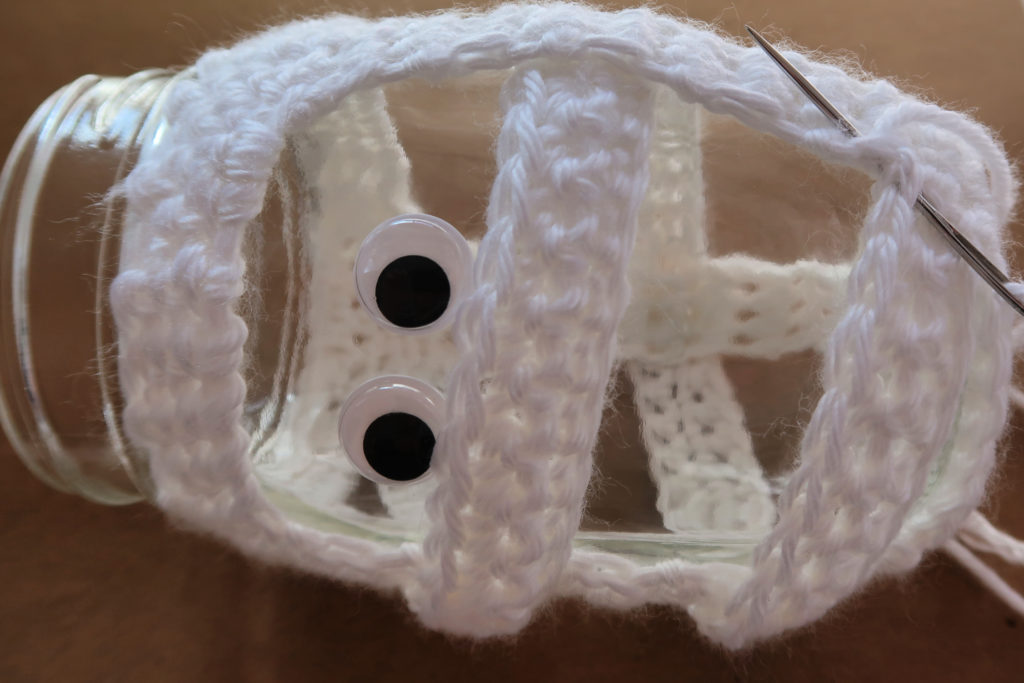
For an extra spooky touch, glue a plastic spider to your mummy.
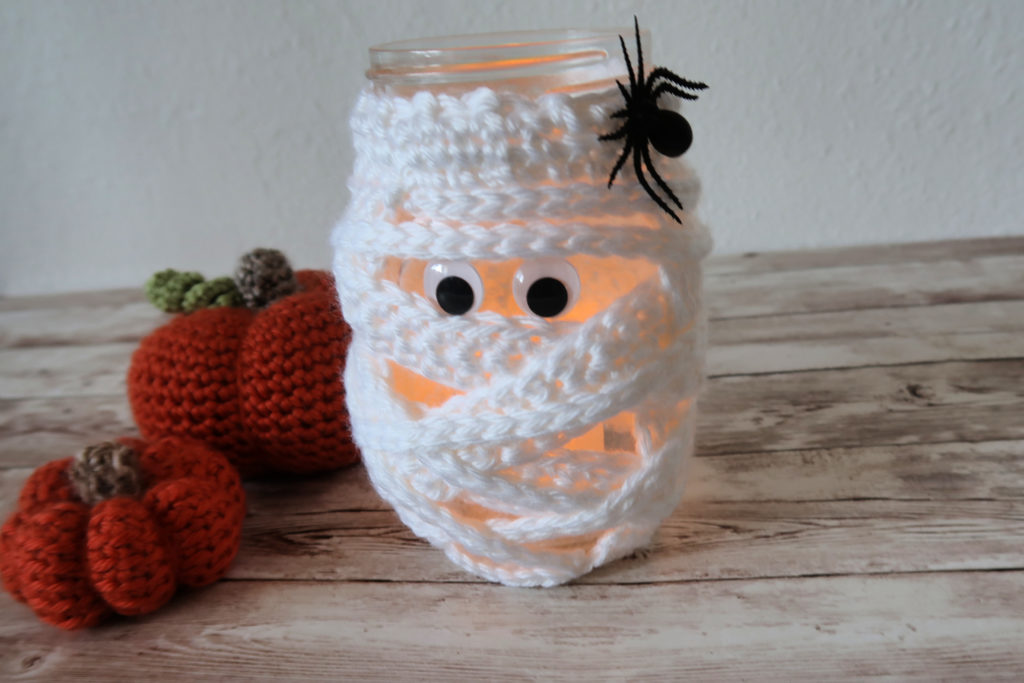
I used this little guy as a candle holder, by inserting an LED tea light into the jar. Fill the jar up with Halloween candy and it could be a great gift for teachers or a nice neighbor.
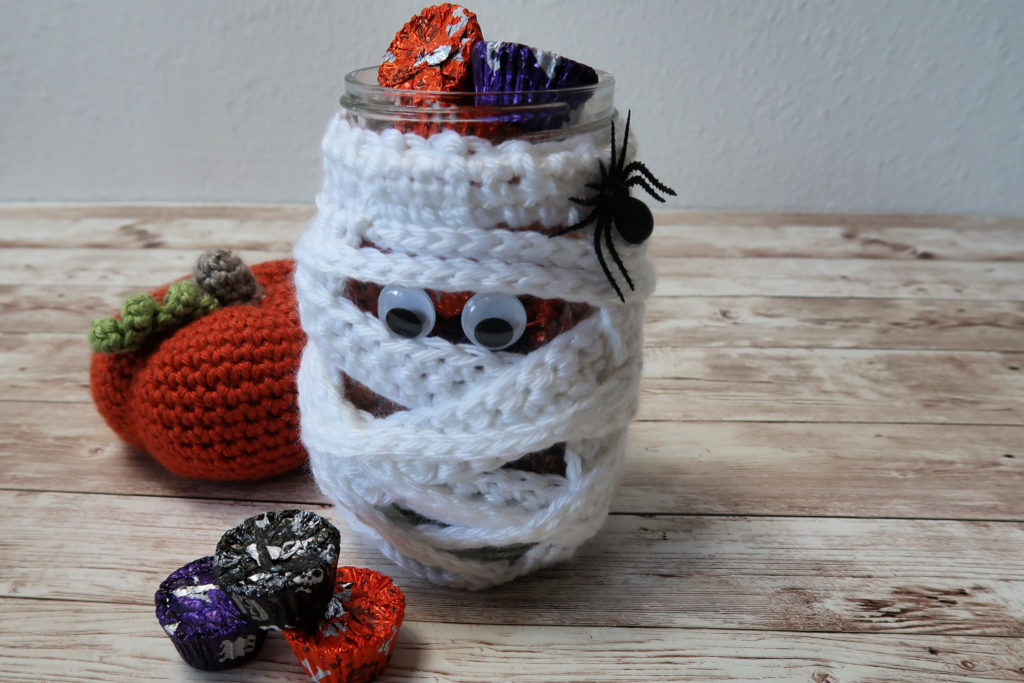
I hope you have a great time creating this little guy and a spooktacular Halloween!
How will you use this jar? Let me know in the comments.


