Adding fringe can add that extra pop when finishing your crochet projects. Fringe can be attached to just about any piece – scarfs, blankets, shawls, and more.
It is also great for covering up imperfections on the edges of a crochet piece.
*This post contains affiliate links, which means I receive a small commission at no extra cost to you if you make a purchase using this link.
If you need supplies, you can take a look at some of my favorites – HERE!
You have choices to make…
Adding fringe is easy to do, but you have to decide three things first before starting. Each is up to your personal preferences.
Length of the fringe.
Fringe can be any length you want it to be. I’ve seen fringe from 3″ to a foot long, it depends on the look you are going for and the project you are attaching the fringe to.
Number of strands in each group.
The number of strands you add to each group will determine how thick the fringe will be.
Spacing of fringe on your crochet project.
You can add fringe to every stitch along the edge or space them out with several stitches between each fringe placement.
How to add fringe to a crochet project.
1. Have A Plan
Choose the length, number of strands in each fringe group, and how many groups you’ll add to your project.
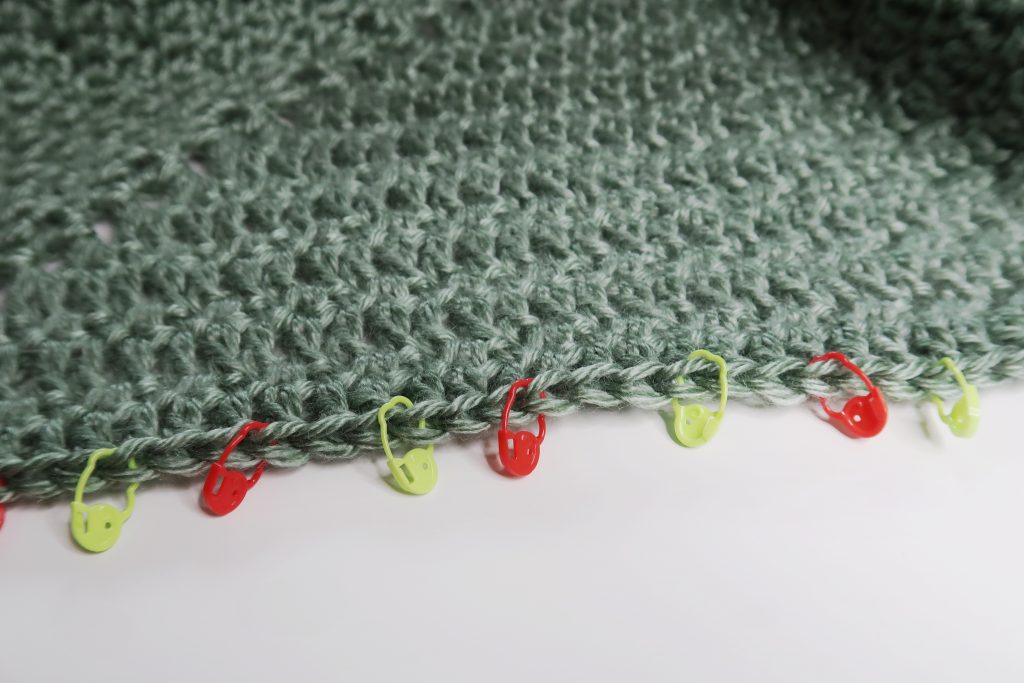
2. Mark Spacing
You already have an idea of how many groups you want to add. Now mark it out on your project with stitch markers. Place a stitch marker in the stitches of your project where you want to add fringe.
3. Cut Yarn Strands
Cut the yarn strands twice the length you want the fringe to be. Example: 3-inch fringe, cut 6″ yarn strands. It’s better to start with longer strands because you can trim them later, but if they are too short, you’ll have to start over.
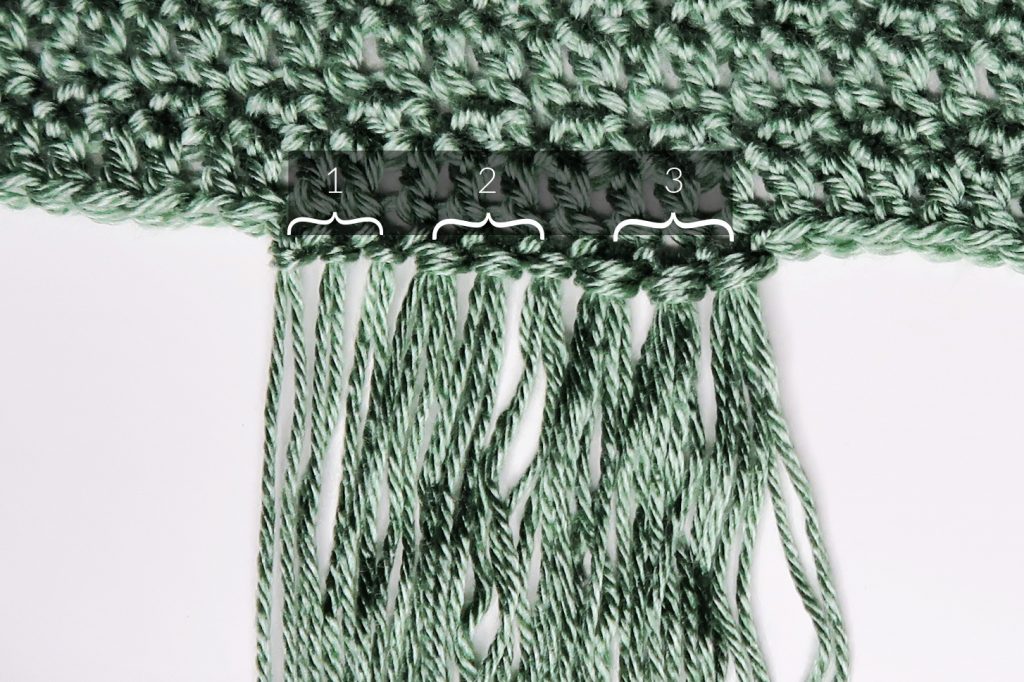
4. Divide Strands Into Groups
Separate the yarn strands into the number of strands you’ll use in each fringe group.
5. Fold Fringe Groups
Fold each group of yarn strands in half to form a loop. When folding, make sure to line up the ends evenly.
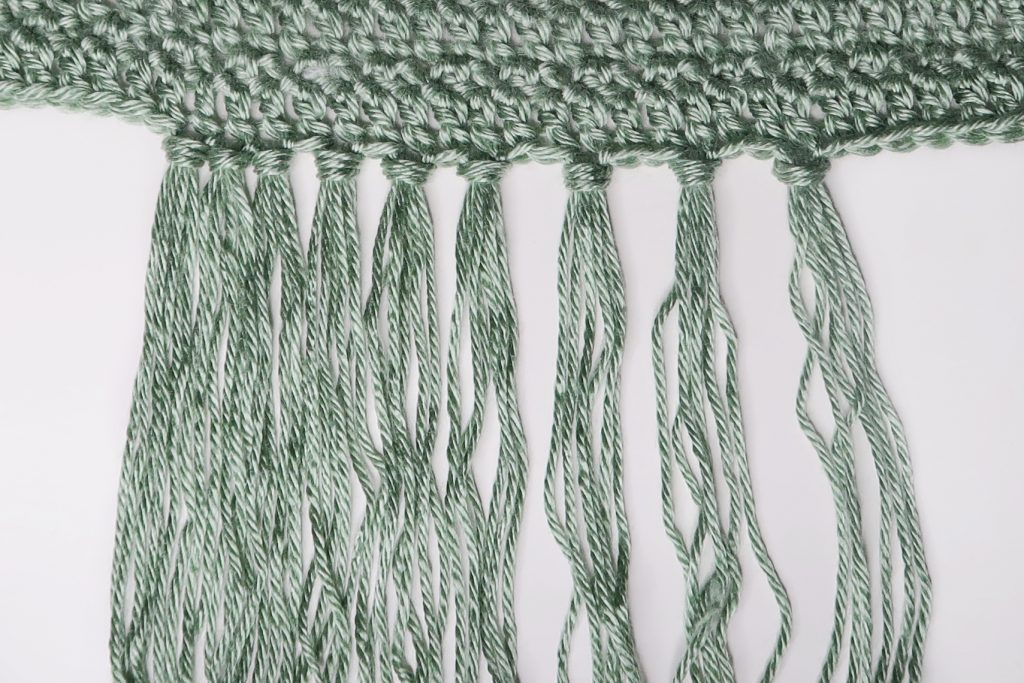
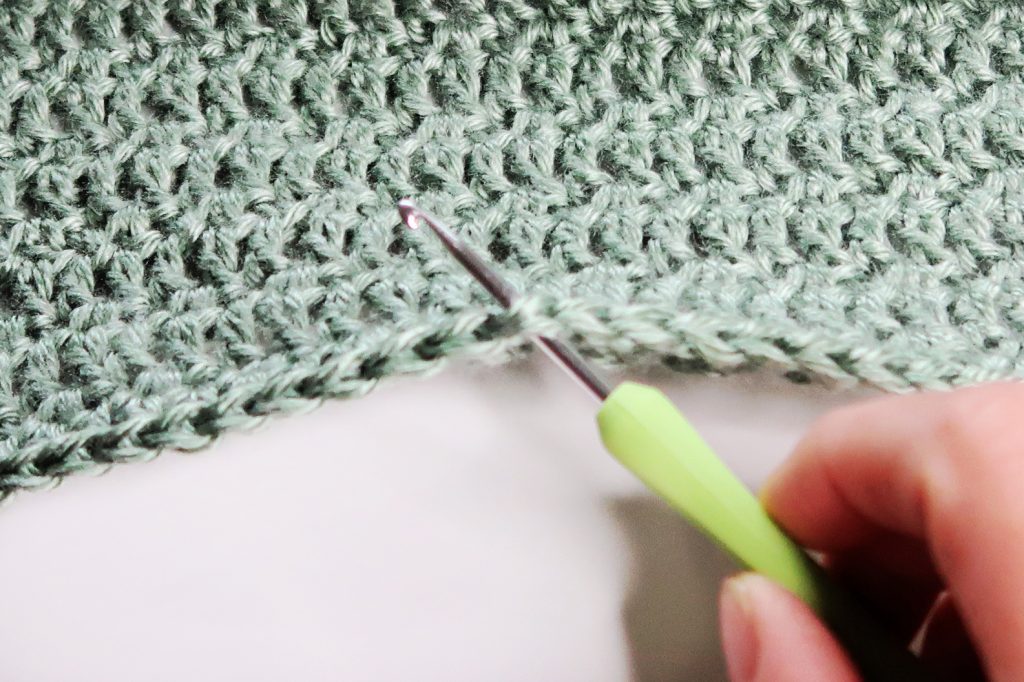
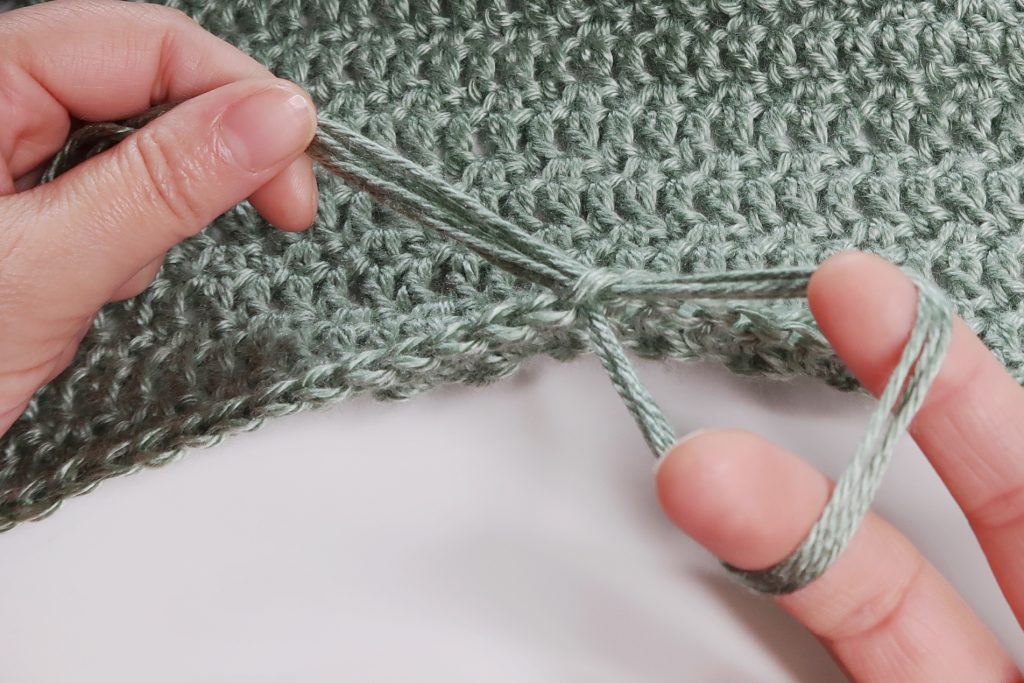
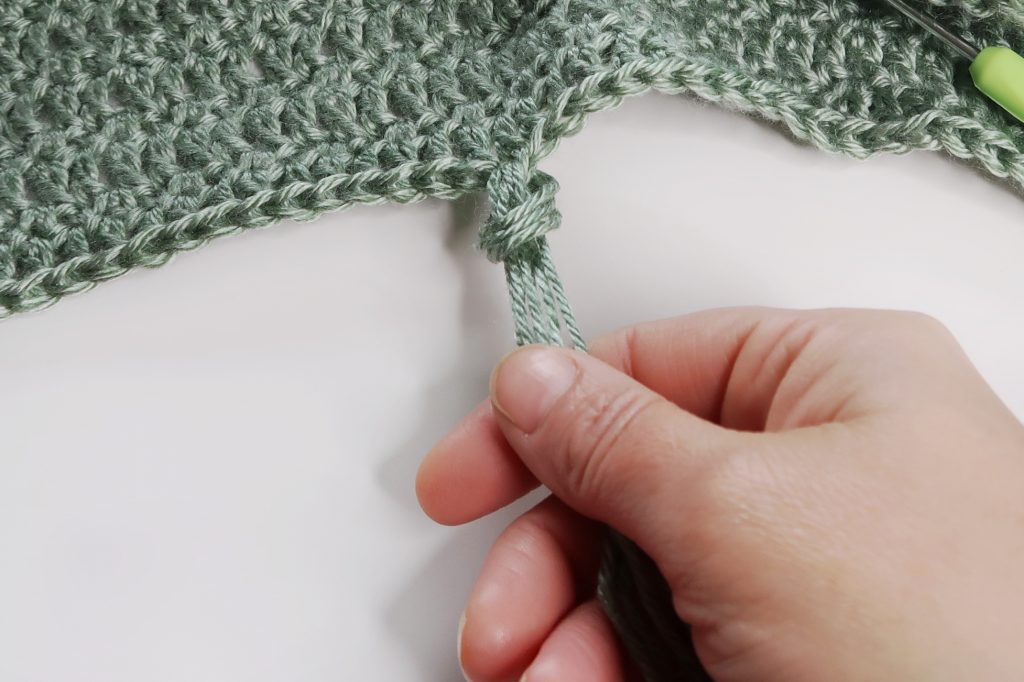
6. Attach Fringe To Crochet Project
Insert the crochet hook into a stitch on the crochet project. Draw the loop of the fringe through the stitch with the hook. Remove the hook, then pull the loose ends of the fringe through the loop. Gently pull on the ends to tighten the knot.
Tip…
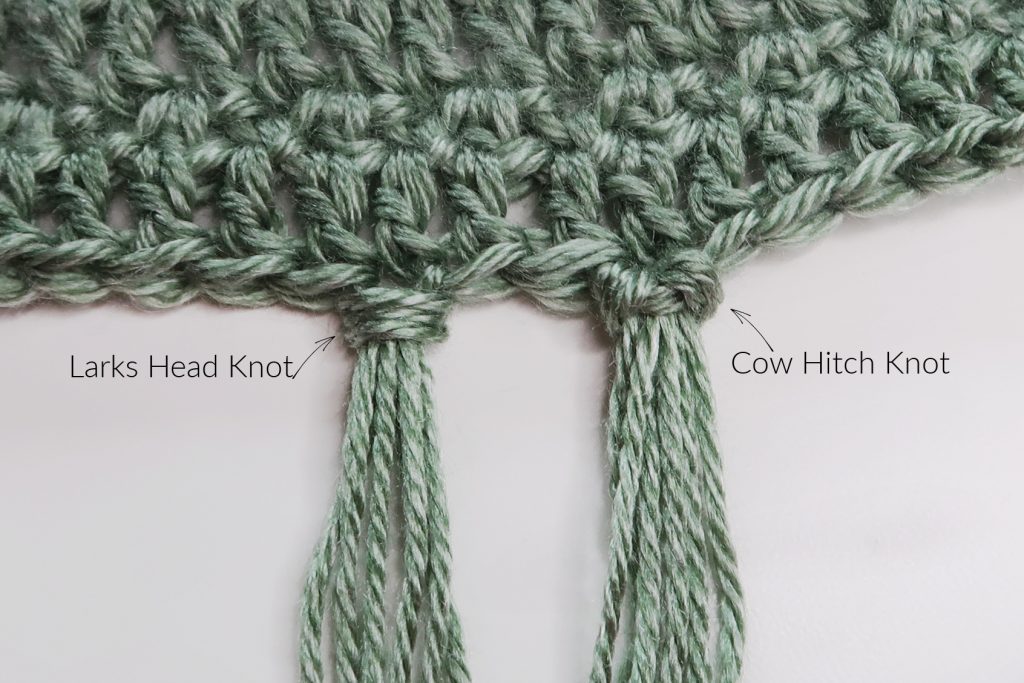
Larks Head Knots are made by pulling the loop from the front of the crochet piece to the back.
Cow Hitch Knots are made by pulling the loop from the back to the front.
In this tutorial I used lark head knots when adding the fringe.
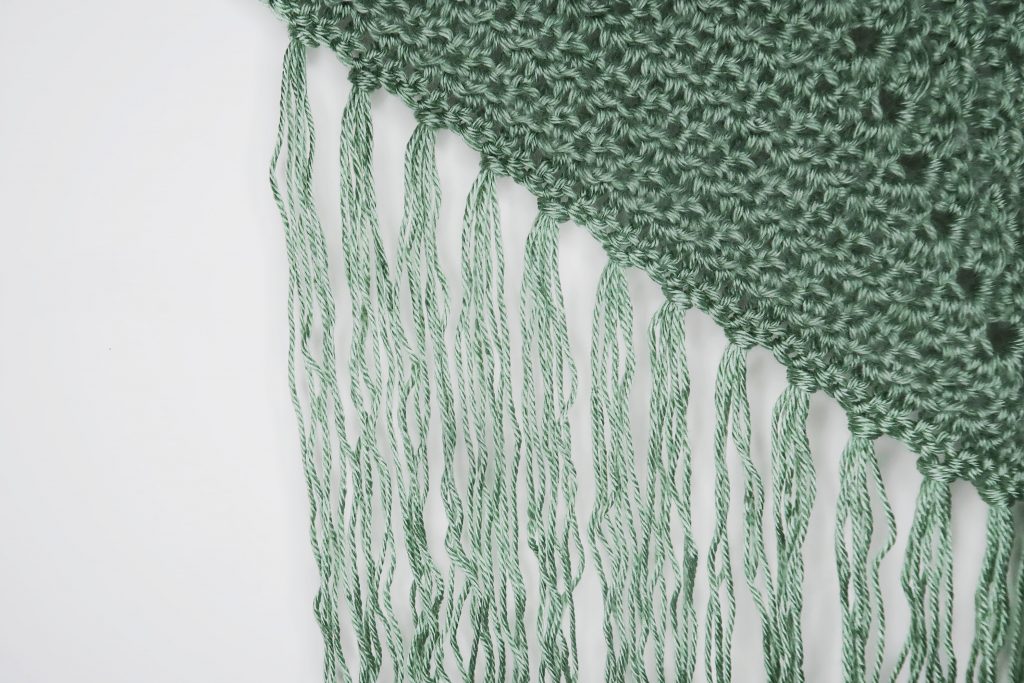
7. Trim Ends
If needed, you can trim the ends of the fringe to the desired length.
What crochet project will you be adding fringe to? Let me know in the comments below.